Making the Shockbox: Mark 2

Last time, I talked about how the core functionality of the Shockbox works by explaining exactly how the first version was made. This time, I am going to explain how I went from a Tupperware container full of wires powered by an external TENS massager to a self contained full audiovisual stream experience.
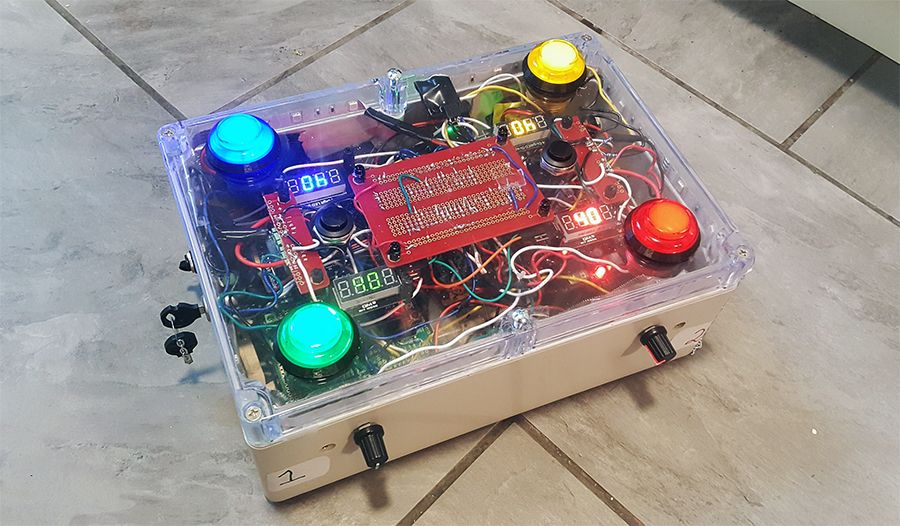
The Shockbox Mark 2 does far more than just zap you. It has powerful strip lighting inside, plays sound effects, has inbuilt life counter displays, and generates tens current internally. It also controls my streaming software, automatically switching to face cams right before shocking so that reactions can be captured, which is something even those who would rather skip the shocking part might want to take advantage of for thier commander streams with face cams.

"What happens if you gain life"
This was the question everyone had about the Shockbox Mark 1. While it didn't externally display life totals, it did track them internally, as they were used the stress maximizing algorithms I mentioned last time to figure out when to build suspense and when to max out randomness.
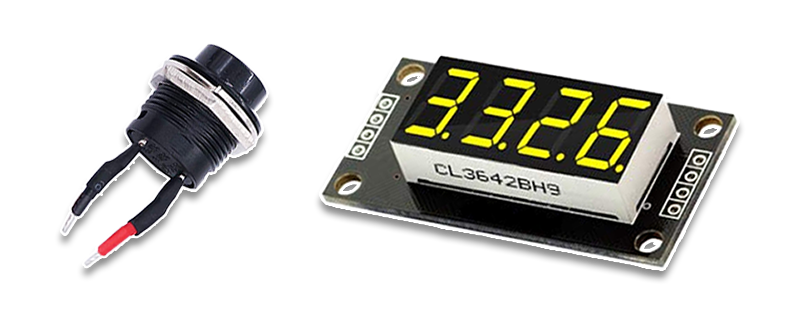
For this reason, the original Shockbox Rules banned lifegain. However, while adding four digital clock displays to show remaining life, I also added two more buttons to the top. holding either one down while pressing a players button adds life- up to a hard limit of 60- instead of removing it.
Despite this, it is only possible to take 40 points of "tracked shock damage" over a single game. When you add life, it adds 1 to a buffer value. Each time you press the button to take damage, if you have a buffer value greater than zero, there is a chance it won't be counted as shock damage and substracts 1 from the buffer instead.
The "stress" algorithm modifies the random thresholds and delays based on the life totals of all four players. How exactly it does so is randomly chosen when it loads up. Not even I know which of six possible variations of the same algorithm it is using during a game! All of them try to speed up the early game, clump shocks together during the mid game, and amp tension to the max one a player is below 8 life.
Structural upgrades
If you decided to build a Shockbox Mark 1, you may have noticed a serious problem, which is that adding four clock displays has used up every single I/O pin on your Arduino and you know from what you've seen of the Mark 2 that we still have a lot more stuff to add. At this point, I was also getting very tired of all my wires running from the base to the lid.
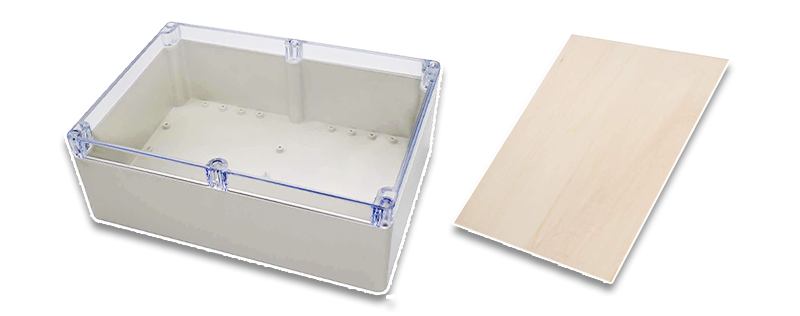
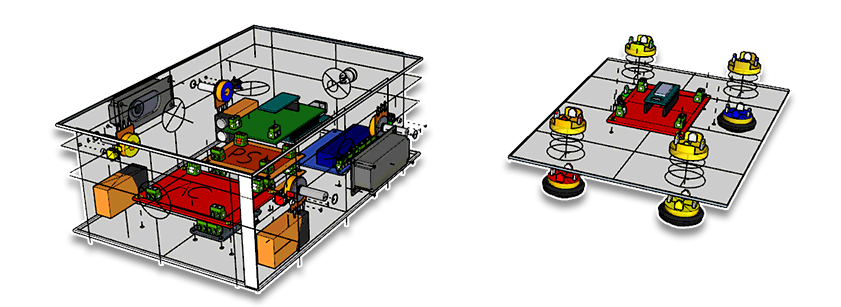
I got my hands on a durable plastic junction box and some balsa wood, and used the 3d model I had created while plotting out the Mark 1 to figure out how I was going to lay out the final version. I split the code into two separate programs, and created a Master/Sub network between two separate microcontrollers. I swear this isn't a kink thing, I didn't name this control scheme! This allowed the two CPUs to talk to each other using only four cables, rather than the 16 that had been running before.
Building an internal TENS unit
The biggest problem with the Shockbox Mark 1 was that it didn't generate its own TENS current- it was powered by my own massager. This massager I happened to own, being designed to ease pain rather than cause it, doesn't output a steady signal and shuts itself off after 15 minutes. To do a full game, I would have to build my own module to generate that current.
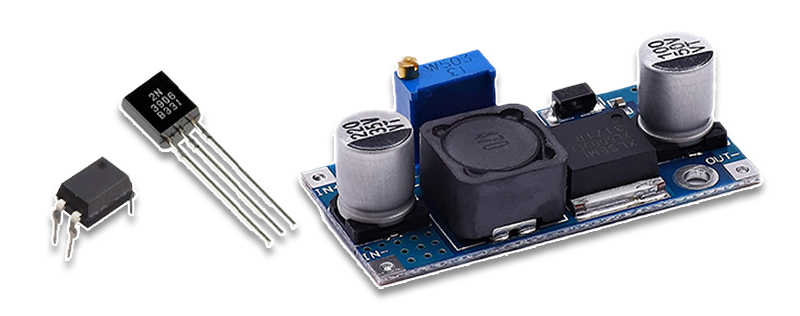
I spent a lot of my last article emphasizing how dangerous it is to run current through the human body. I will not tell you exactly how I did this part. I will tell you that the TENS signal generator is powered by a completely separate battery from the rest of the box, and uses several optocouplers, a buck converter, and a transistor. The effective voltage output is about 1.2, and the amperage is so low that I had to build a special meter just to measure it. Despite my unit producing less than 5% of current levels that would be dangerous to the average person, Making my own unit meant making safety mechanisms to back it up.
Safety, Safety, Safety
There are five different safety mechanisms that prevent dangerous amounts of current from being able to be sent out the pads through a person. I won't go through all of them, but will detail a few.
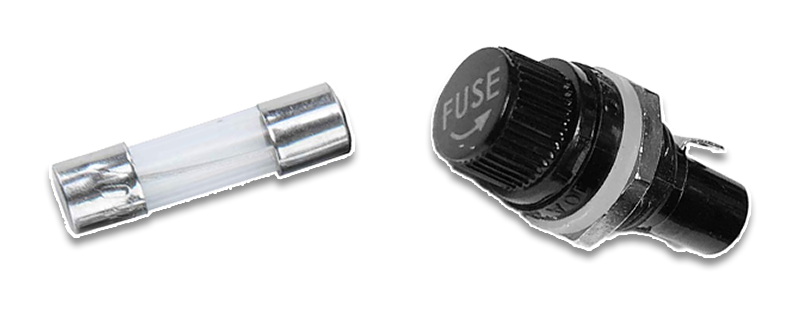
A fuse is a tiny strip of metal that is weak on purpose. Whenever electricity travels through a wire, a small amount of heat is produced that is proportional to how much is flowing. Fuses take advantage of this by running power through a strip of metal that simply melts if the designated amount of current is being pulled, disconnecting them.
Dangerous current to humans starts at around 0.2 amps, so I used 6 fuses that burn at half that, 0.1 amps. One for each player, one on the battery itself, and one on the shared ground the players share. In addition to fuses, the master Arduino measures the voltage of the TENS output before it lets it flow to the players. If it goes higher than 12% above the level it should, it shuts off the entire system. there is also an internal circuit breaker that turns off the entire box using a mechanical prosccess if it has enough voltage to do so, in case enough voltage to fry the computers is flowing through the system.
Sounds and Lights
Having current run through your arm is only half the full experience of getting zapped. Sure, the suspense and stress algorithms do a lot of the lifting too. But without visual and audio feedback, the effect isn't nearly as strong.
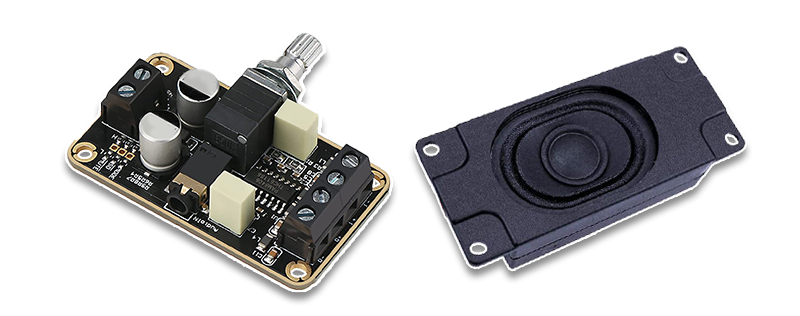
Whenever the Shockbox activates, it plays a cartoony "zap" sound effect off of an SD card loaded inside the case. this SD card serves multiple purposes, as the Shockbox also writes logs of each game to the card to make debugging easier. At present, it loads and plays one of 5 random sound effects.
But what about those lights that shine so brightly in that photo of me i use for everything Shockbox related? Inside the box, I taped waterproof LED strip lighting to the edge of the lid. When picking a box for the Mark 2, I chose one with a transparent lid specifically planning this step. The strip lights are waterproof for safety reasons: The leds are a 12 volt 1 amp system, which is enough power to be dangerous if it was ever routed through the shock pads. While the fuses mentioned before would prevent that, the entire system being sealed in a waterproof tube means there is another layer of protection for the players.
Changing Cameras
Those of you who have seen the first Shockbox stream presumably noticed that while I had set up three cameras- one which filmed the table from above, and the other two which were pointed at our faces. This is a similar setup to how edited gameplay shows like Game Knights or Quest for the Janklord are filmed, but instead of an editor switching scenes, the Shockbox handles that. Because the Shockbox decides when it is going to send a shock slightly before it actually happens, the cameras even switch in advance to make sure our full reaction is captured.
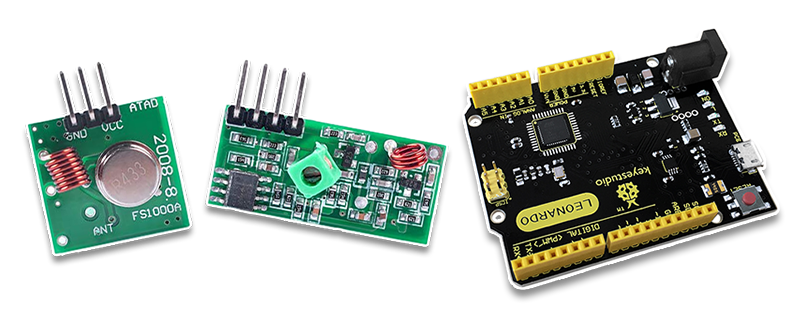
To accomplish this, I got my hands on a special kind of Arduino board that can be coded to appear as a keyboard or mouse, called a Leonardo. When the Leonardo gets a signal from the Shockbox that it was about to activate, it creates a keyboard event of pressing the F9 key, then F10 to reset to tablecam mode a few seconds later.
In my streaming program, I created keyboard shortcuts for the F19 and F20 keys (no keyboard has them, but but your computer recognizes them as valid inputs, helpful for control functions like this) that switch between two scenes in my streaming software, one where the table was the only thing shown and another that showed our faces. adding a "motion" transition in Streamlabs means the switch is fluid rather than a simple cut.
The Leonardo is one of several boards that can send keyboard and mouse events over USB when plugged into a computer. The potential application of these devices have is far beyond merely being an on/off switch, and if I ever do make a Mark 3, I expect I will extend the function of the camera controller considerably. The smaller variants can be used to cheaply create stream control boards like this one a friend of mine made for me at a fraction of the cost they are to buy premade.
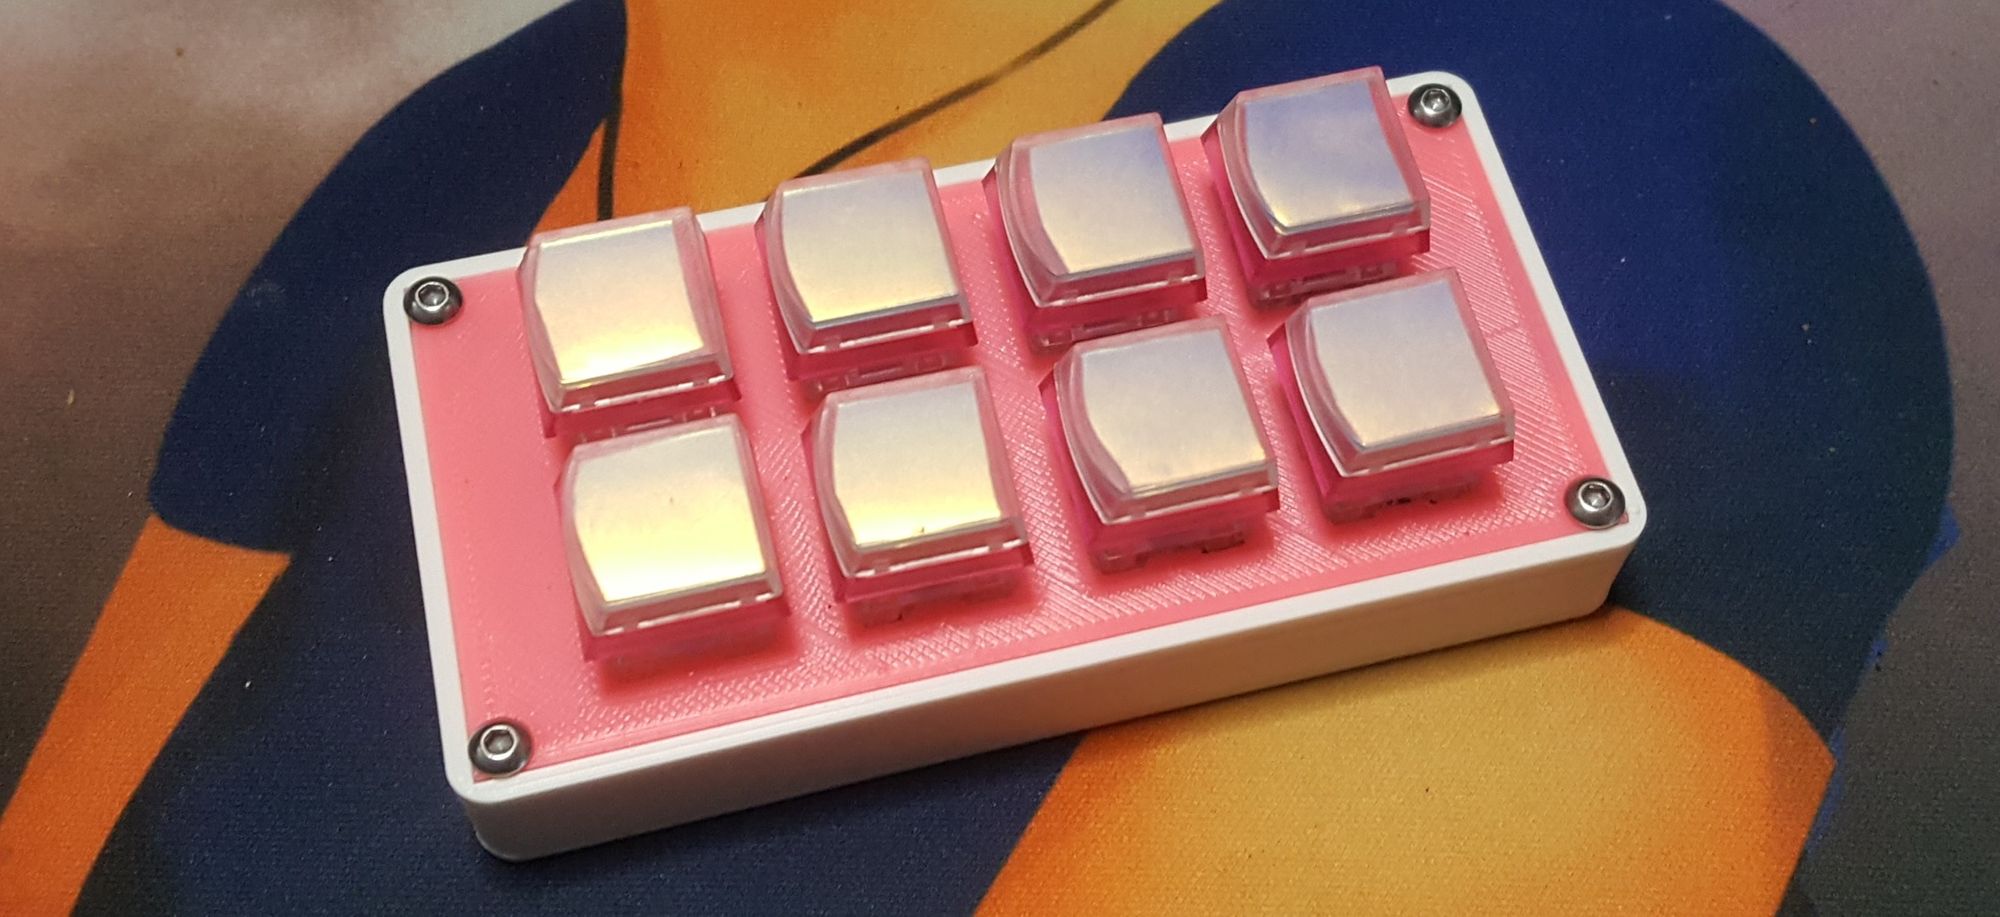
If you watched the first stream, you may also have noticed that the box switching cameras was not consistent at all. At the time, I was using an infrared communicator which was sometimes blocked. One of the final changes I made to the Shockbox was switching the IR chips out for radio chips, which are far more effective, but are wired and coded almost identically.
If you decide to write your own protocol to communicate wirelessly, the best way to do it is with a series of "codewords" (in my case, evenly spaced numbers between 1 and 100) that each correspond to a specific "message". Wireless communications that use hardware this directly, rather than using a protocol like Bluetooth or Wi-Fi, can have a lot of noise in them. I arbitrarily add the binary sequence "10101010101" , or 1365 in base ten, to the sequence to make sure it has as many flipped values as possible and transmits clearly.
What's Next
At this point, I have covered pretty much everything involved in the hardware of the Mark 2. There is one final, huge missing feature on the Shockbox Mark 2; under no circumstances is any airport security going to let me take a box full of buttons, wires and digital clock displays on a plane. When public health crises allow, I plan to take the Shockbox on a tour to visit creators that live in parts of the world other than the New York City area.
Until then, I will be streaming the Shockbox EDH show from my studio on a roughly monthly schedule. The next one will be Sunday, September 26th on my twitch at 4pm EST, and follow me on twitter to make sure you dont miss announcements for the ones after. I'm happy to hear from creators who live within traveling distance of the city who want to guest, as well!
Are you curious to see other projects that interface electronics with magic, perhaps with a less sadistic bent? Want to know how I may modify the code of the box to work with other card games like Flesh and Blood? Let me know!
-Sheepwave

